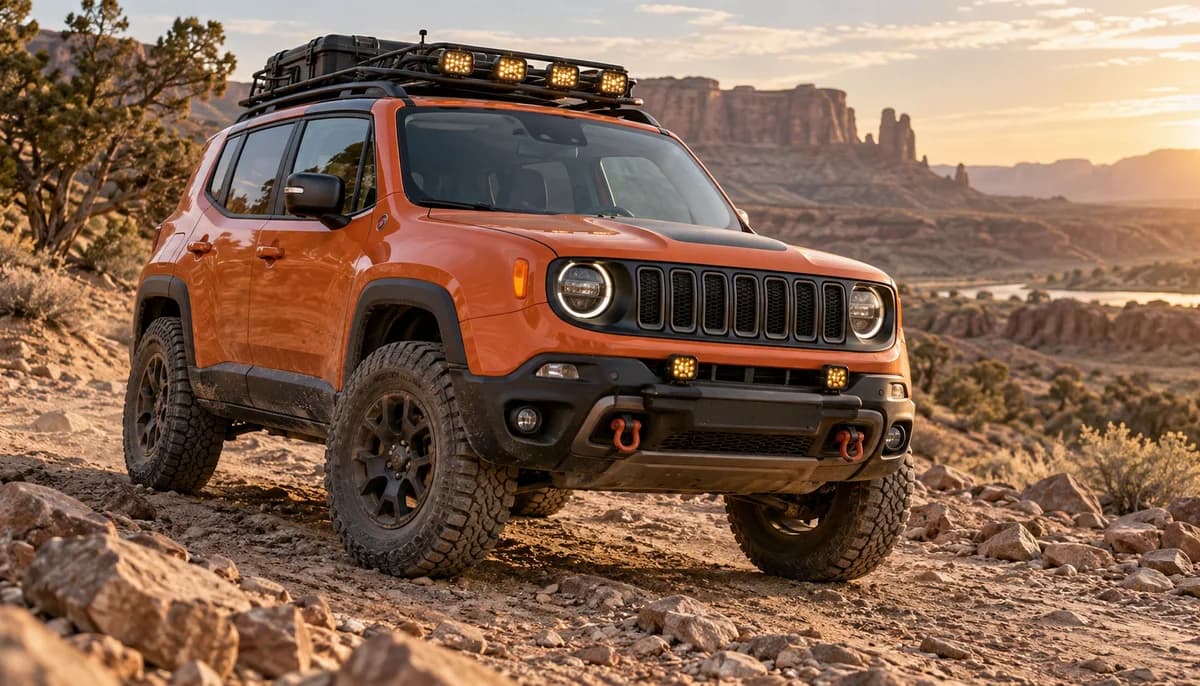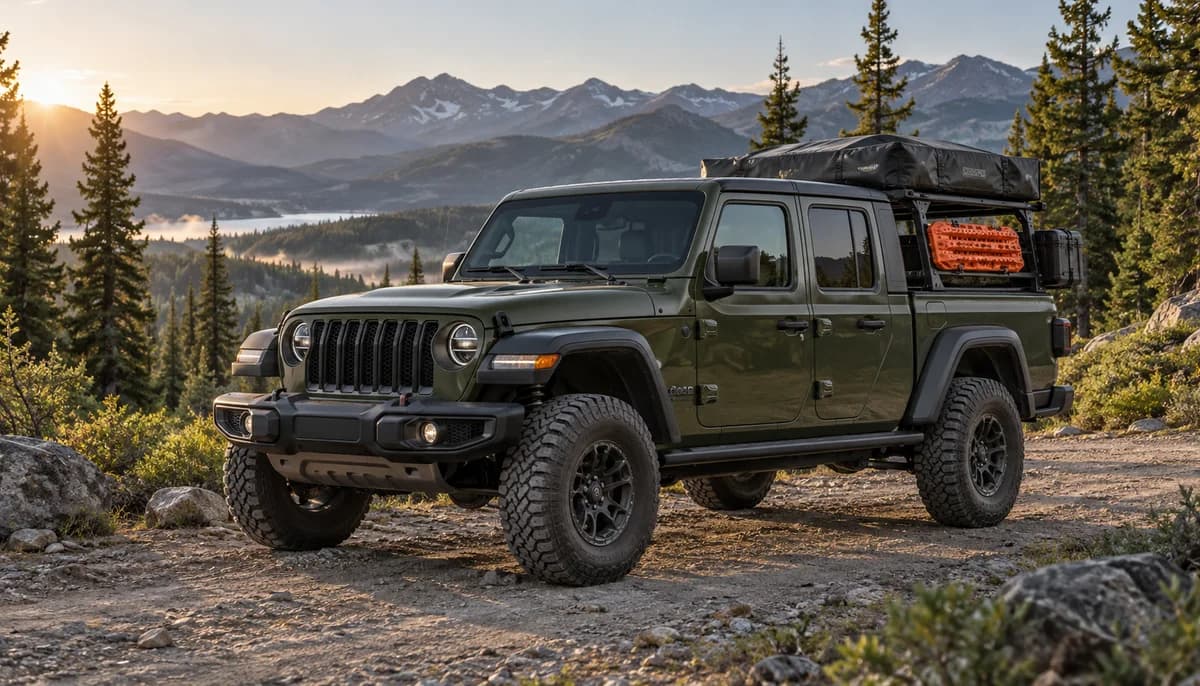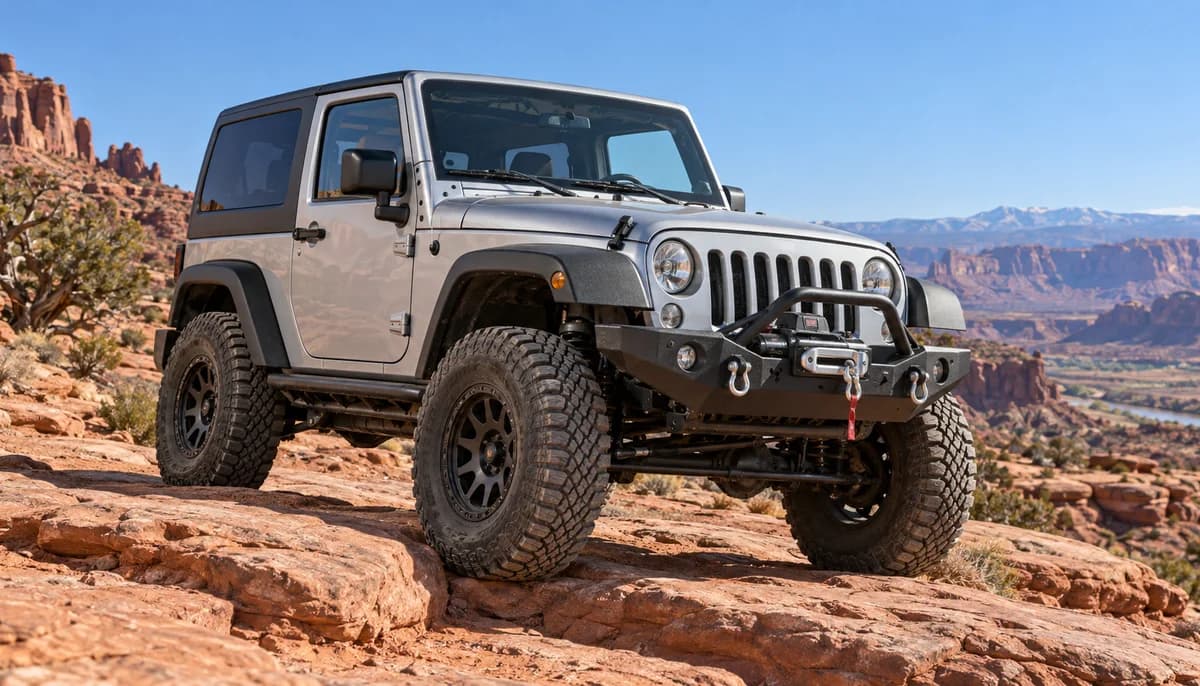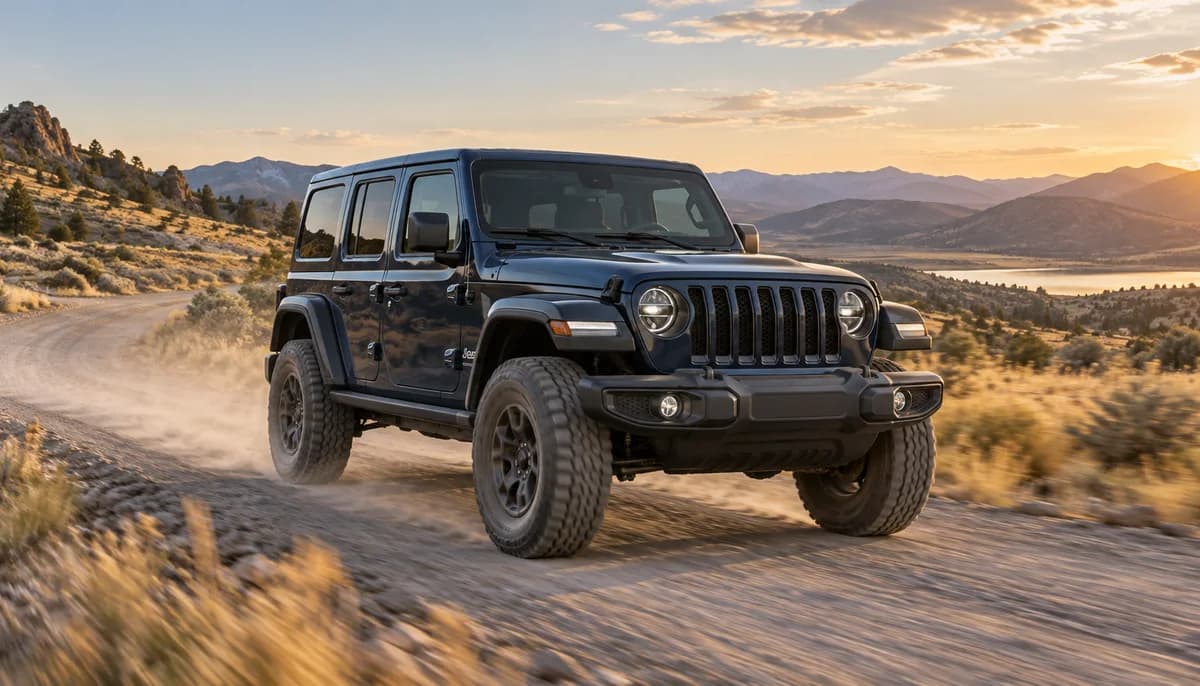
A Wrangler JL that goes to work all week has a different brief from a vehicle built around occasional trail days. Parking, getting in and out, carrying passengers and enjoying the commute all belong in the plan.
Treat a lift as part of a complete vehicle setup. Before comparing kits, define the result you want and the everyday conveniences you are unwilling to lose.
In this guide
Write down the weekday requirements
Start with the places the Jeep has to fit: the home garage, the office parking structure and the spots you use regularly. Add the people who ride with you, the gear you carry and how often you travel on longer road journeys.
Then describe your trail use with the same level of detail. A few graded roads on camping weekends and frequent technical outings are different projects. An honest description helps an installer propose a setup you will actually enjoy living with.
Identify your exact starting configuration
Record the year, trim, engine, body style, current wheels and tires, and any existing accessories. Include equipment you intend to add later. This makes it easier to compare proposals without discovering halfway through an installation that two people were picturing different vehicles.
Jeep describes tire options and ground-clearance equipment as part of a vehicle's off-road capability, but availability varies by model and package. Check your own build information and manual instead of treating every JL as the same starting point.
Ask for a complete fitment proposal
Give the workshop a written brief and ask it to identify the proposed tire, wheel and suspension combination. Request the part numbers and the manufacturer's application information so the proposal can be checked against your actual Jeep.
Also ask what the installation includes: the inspection beforehand, setup work afterward, any applicable calibration procedures and the follow-up visit. The point is to understand the complete job, including anything that sits outside the headline kit price.
Compare the whole cost of the change
Keep separate lines in the budget for parts, labor and any supporting work the installer identifies. Include a matching plan for the spare and the practical details of carrying it. Those details are easier to discuss before the parts arrive.
Consider the existing equipment you may want to keep. If a rack, bumper or other accessory is already fitted, include it in the compatibility conversation. Take photos and share the part number where possible; descriptions such as 'an aftermarket bumper' can leave too much room for assumption.
Agree on acceptance checks before installation
Write down what you want the workshop to demonstrate at handover. This may include its clearance checks, completed alignment work, applicable system checks and the manufacturer's maintenance instructions for the fitted components.
Keep copies of the results and arrange any recommended follow-up. On the first familiar drive, pay attention to new noises, vibration or changes that concern you, and bring them back to the workshop for diagnosis. Do not assume an unwanted change is simply something you have to accept.
Judge the build after an ordinary week
The first useful review happens during normal use. Does the Jeep fit where it needs to? Can passengers get in comfortably? Is packing for the weekend still straightforward? Those are part of a successful build, even if they do not show up in the photos.
Keep the original brief and compare the finished setup against it. If it solves the problem you set out to solve, enjoy it before planning the next modification. A considered daily-driver build leaves room for both the trail and everything that happens between trips.