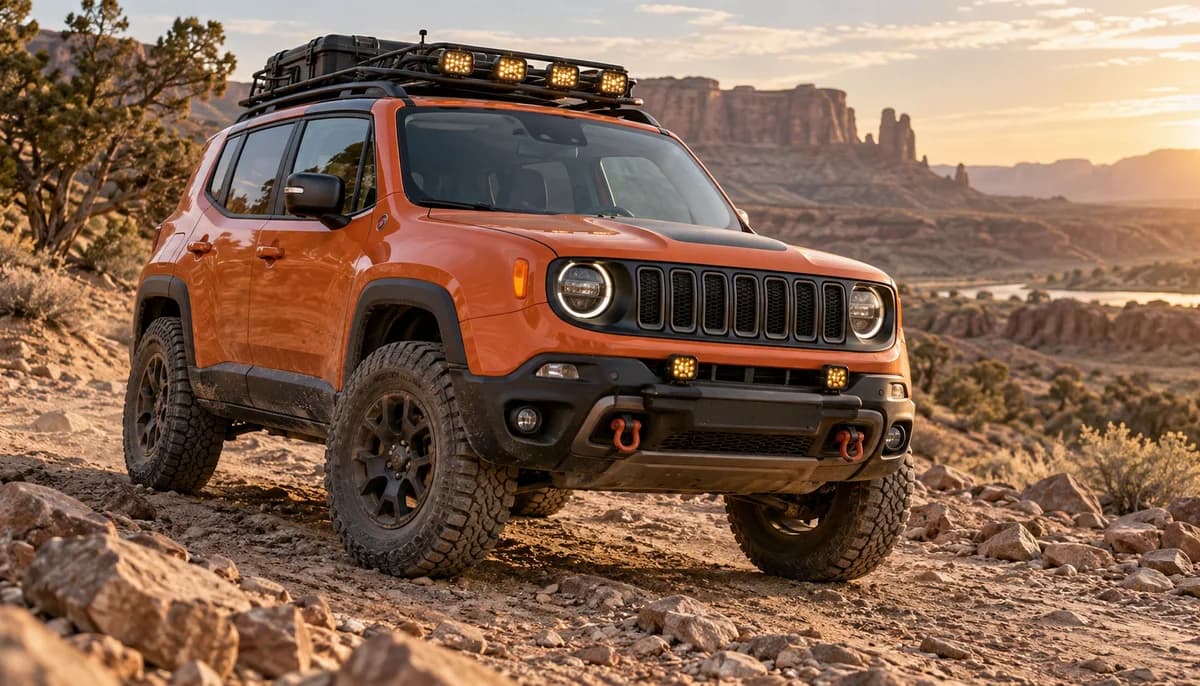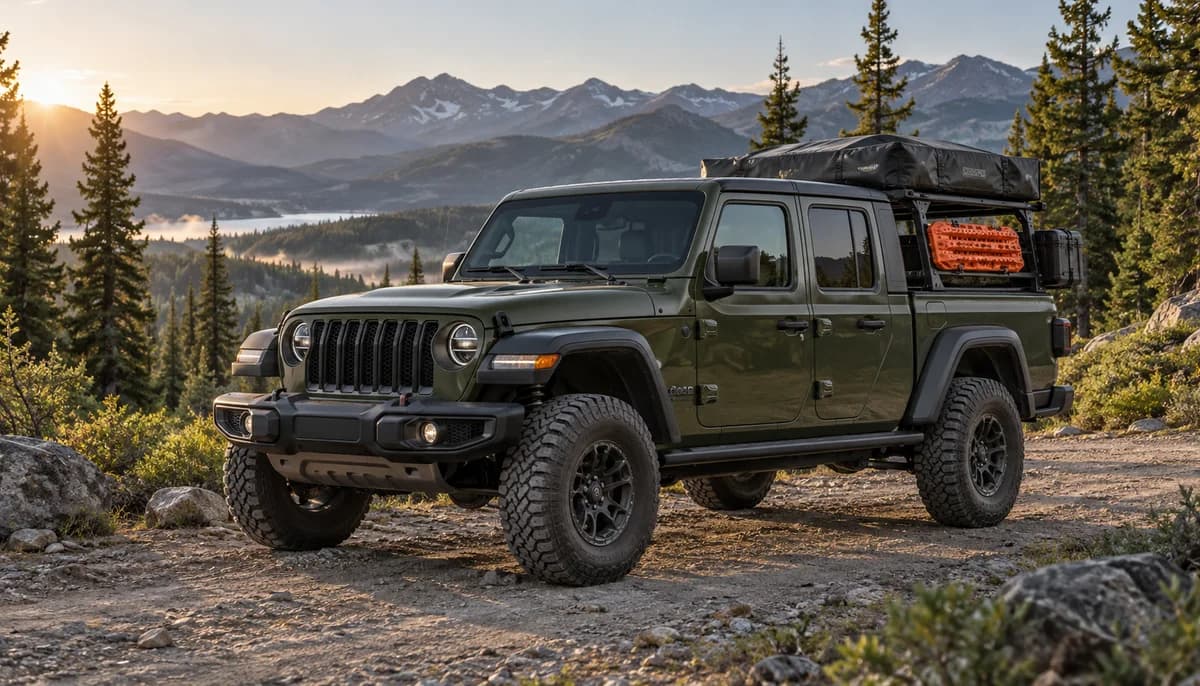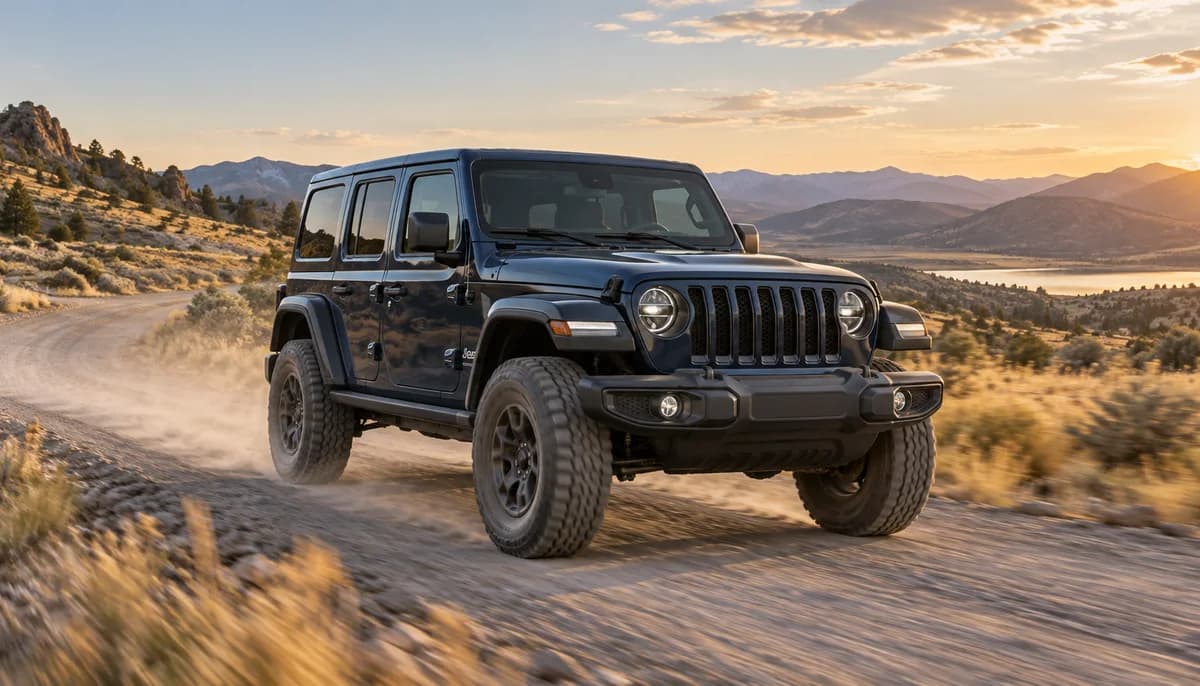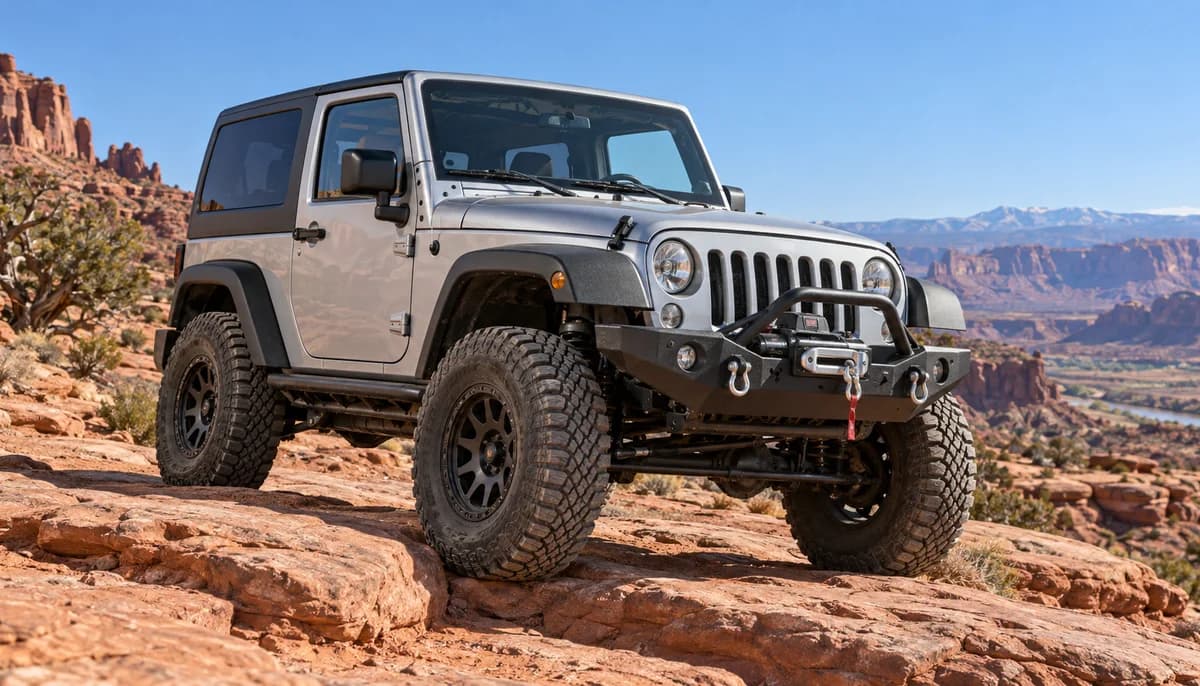
The most useful first trail build starts with knowing the Jeep you already have. Before changing its stance, work out its condition, what equipment is fitted and where you want to drive it.
Think of the first season as a chance to learn. A familiar route, an organized load and a record of what you actually need will tell you more than ordering a complete build before your first outing.
In this guide
Document the starting point
Put the model year, engine, transmission, two-door or four-door body and current tire size in a build notebook. Photograph the suspension and any existing aftermarket parts. Used Jeeps often arrive with modifications that are not obvious from the sales description.
Ask a qualified workshop to establish a maintenance baseline and investigate existing steering, braking or suspension concerns before adding modifications. Keep the resulting service records with your parts list. That gives future installers useful context instead of making them guess what has already changed.
Learn the equipment already fitted
Factory equipment varies. Jeep's off-road guide specifically notes that skid plates and rock rails depend on the vehicle and package. Check what is actually under your JK before ordering replacements or assuming an area is protected.
Use the owner's manual for your model year to learn the controls and operating procedures. Build a short reference list of the functions you need to understand, and practice identifying them before the trip rather than trying to learn every switch at the trailhead.
Pack for access, not appearances
Decide where your everyday essentials will live: drinking water, weather layers, navigation information, a first-aid kit and the equipment appropriate to the route. Place frequently used items where you can reach them without emptying the cargo area.
Choose recovery equipment with an experienced instructor or qualified specialist who understands your vehicle and intended use. Buying equipment and knowing how to use it are separate steps. Make training part of the plan, and follow the vehicle and equipment instructions.
Build a tire and suspension brief
Instead of starting with a target lift height, describe the problem you want to solve. Include the routes you drive, weekday mileage, storage height and whether the existing setup makes access difficult. Take that brief to the installer along with the vehicle details.
Ask for a complete fitment proposal. It should identify the tire and wheel combination, compatible suspension components and the checks required after installation. A quote that explains the whole package is easier to compare than a list of parts with no explanation of how they work together.
Buy protection to solve a real need
Photograph the areas you want to protect and discuss them with someone familiar with your route and vehicle. Include access for maintenance in that discussion. An accessory is less convenient if every routine service means dismantling another part of the build.
Keep a record of part numbers, installation instructions and hardware requirements. This is especially helpful on an older platform where parts may have been designed for a specific bumper, transmission or suspension arrangement.
Make one round of changes at a time
Choose a modest first set of changes, have the installation checked, and get used to the Jeep on familiar roads before planning the next outing. Keep notes on what feels different and bring any concerns back to the installer.
After each trip, write down one thing that made the day easier and one problem you want to solve. Over time that creates a build that reflects how you use the JK, with fewer purchases made simply because another Jeep had them.